Rome in a Closet
How do you turn a utility closet into an ancient Roman house and sunlit street market?
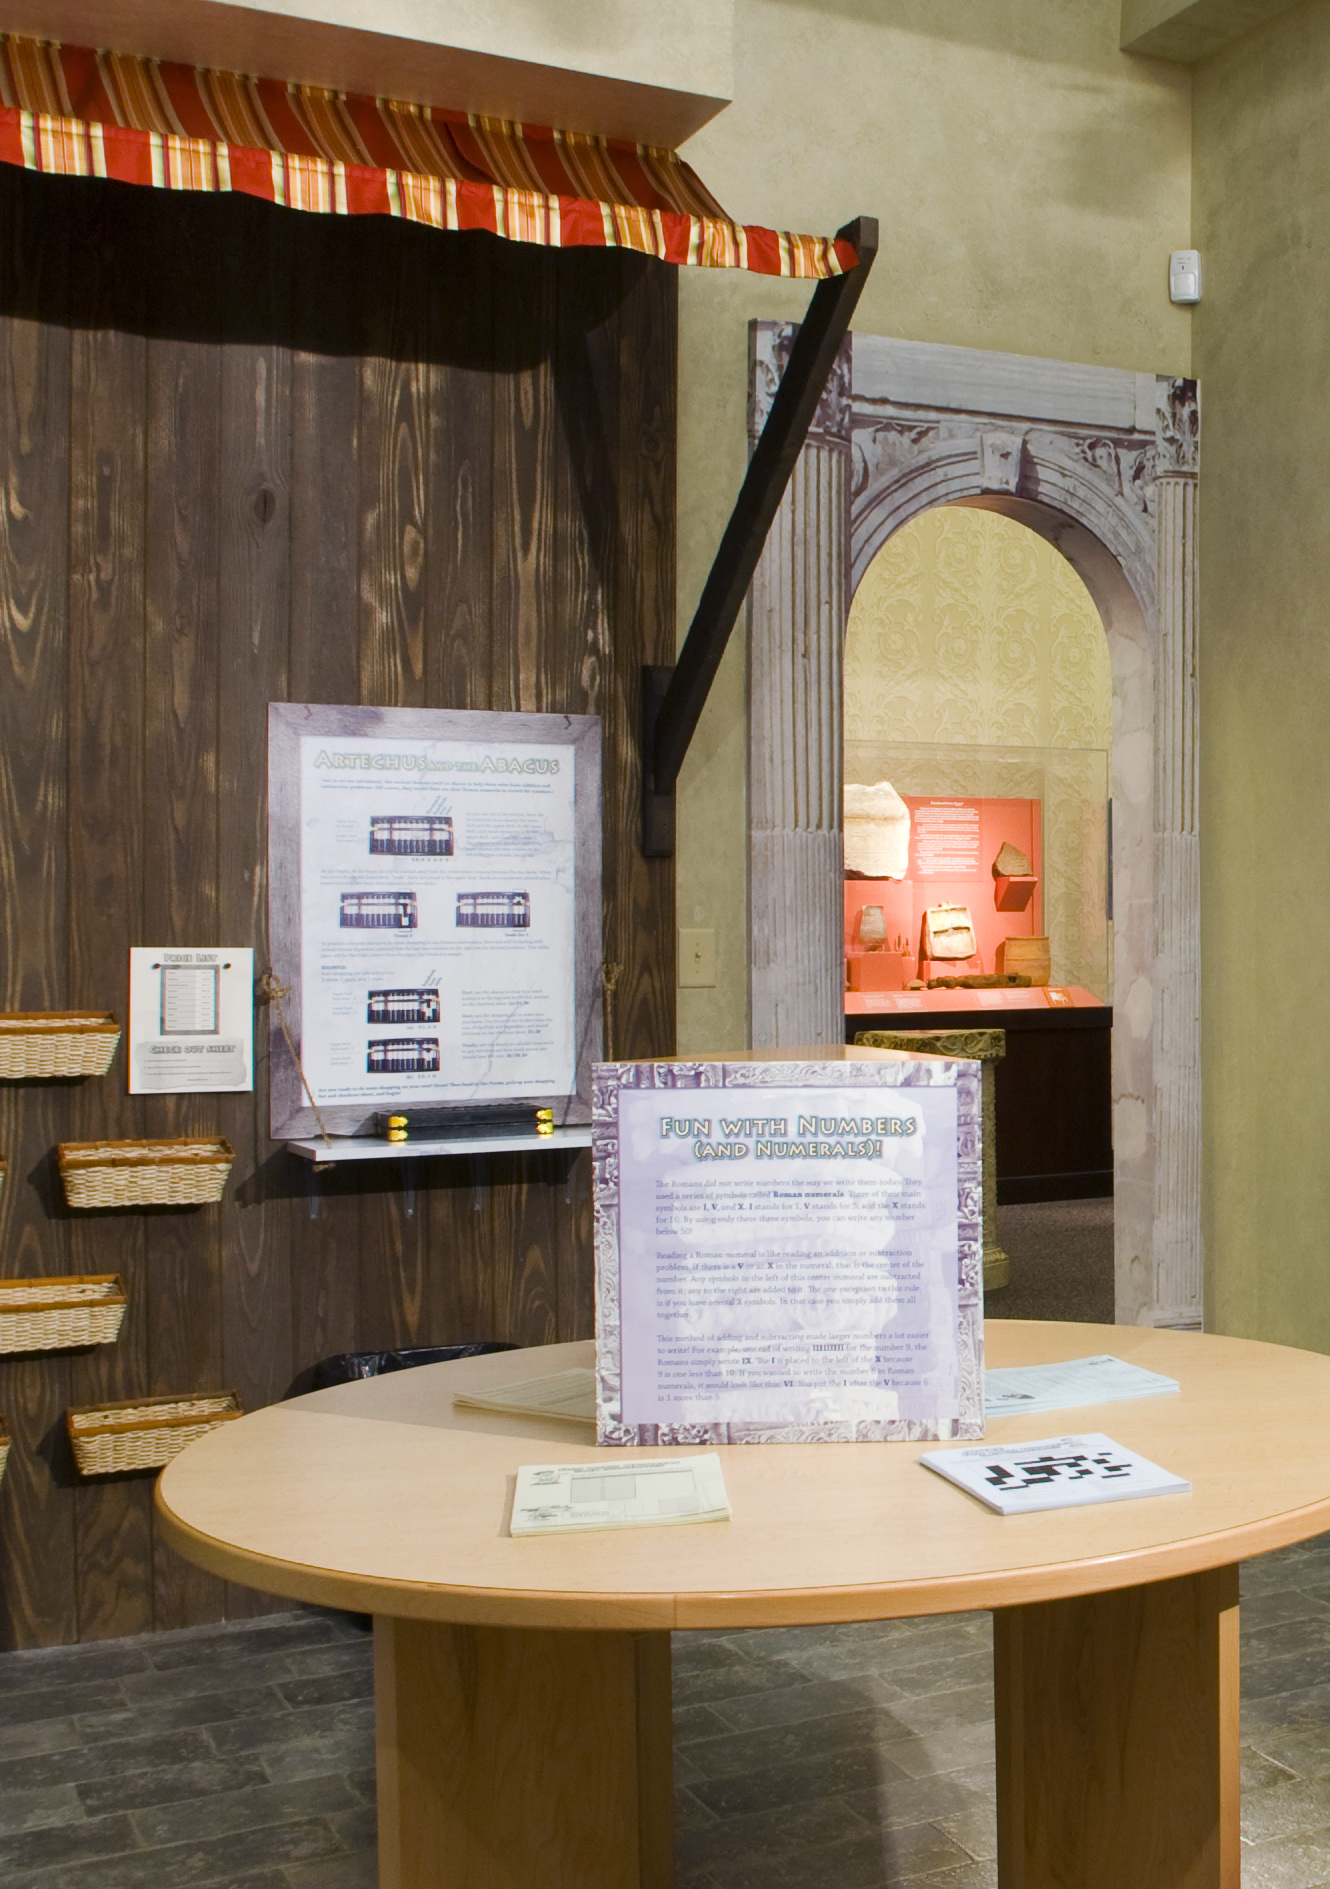
The museum had a small room, originally a utility closet, which they wished to turn into a small educational experience for children. The room sits directly beside a collection of ancient Hebrew, Greek, and Roman artifacts, so we decided to build out environments reminiscent of those civilizations. Egypt came first, and it was fairly simple to turn the room into a small pyramid chamber; perhaps I’ll post on that some day. But when the time came to change it out from Egypt to Rome, I was faced with a new challenge. We wanted to change the feeling from a small, tight, interior space to an experience more like walking on a street in Rome. Clearly, an impossible task. I started by removing the low dropped ceiling and taking advantage of the large space above it, then splitting the space into an “outdoor” and an “indoor” space. To get the feel I was after I decided to make the interior space open, reminiscent of a peristylium, with a mosaic floor. “The opposite side of the room reflected a street market (many Roman homes had a shop on the side facing the street). The finished buildout (unfortunately, with the back door open) is at the top of the page; here is the original Sketchup model: 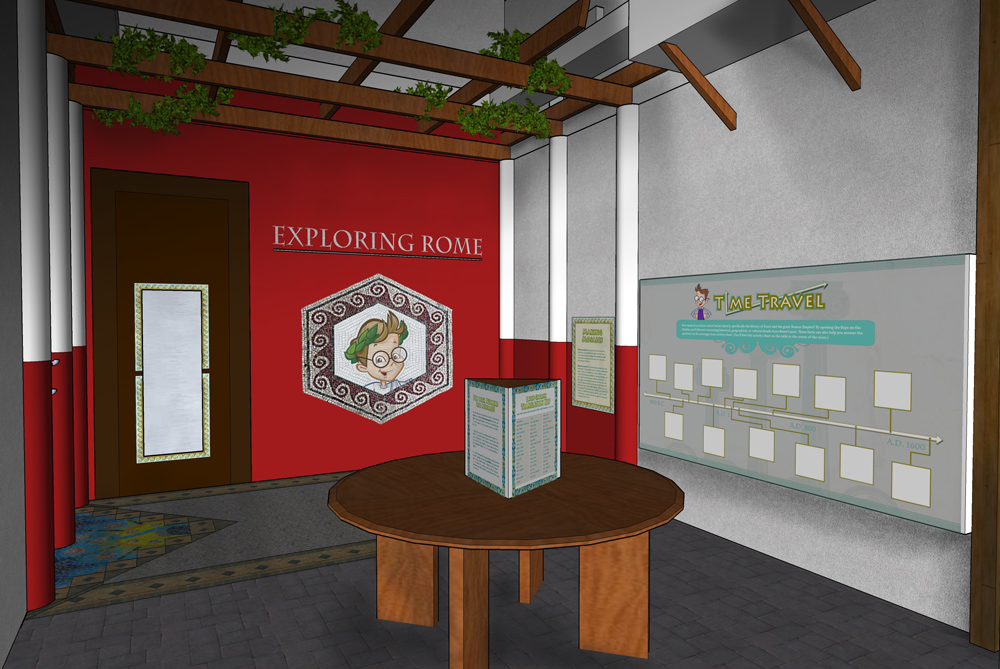 A soffit around the top of the room hid 5000K “daylight” bulbs, with the ceiling and the wall above the soffit painted a light sky blue. The “Time Travel” activity box in the right of the photo contains various antiquities and reproductions of antiquities; I made a few of the reproductions. One of the openings contains Roman coins. The museum’s collection of Roman coins is on display out in the main gallery, and we didn’t need museum-quality items in this area; so I bought uncleaned coins off eBay and used electrolysis to do a quick cleaning on them.
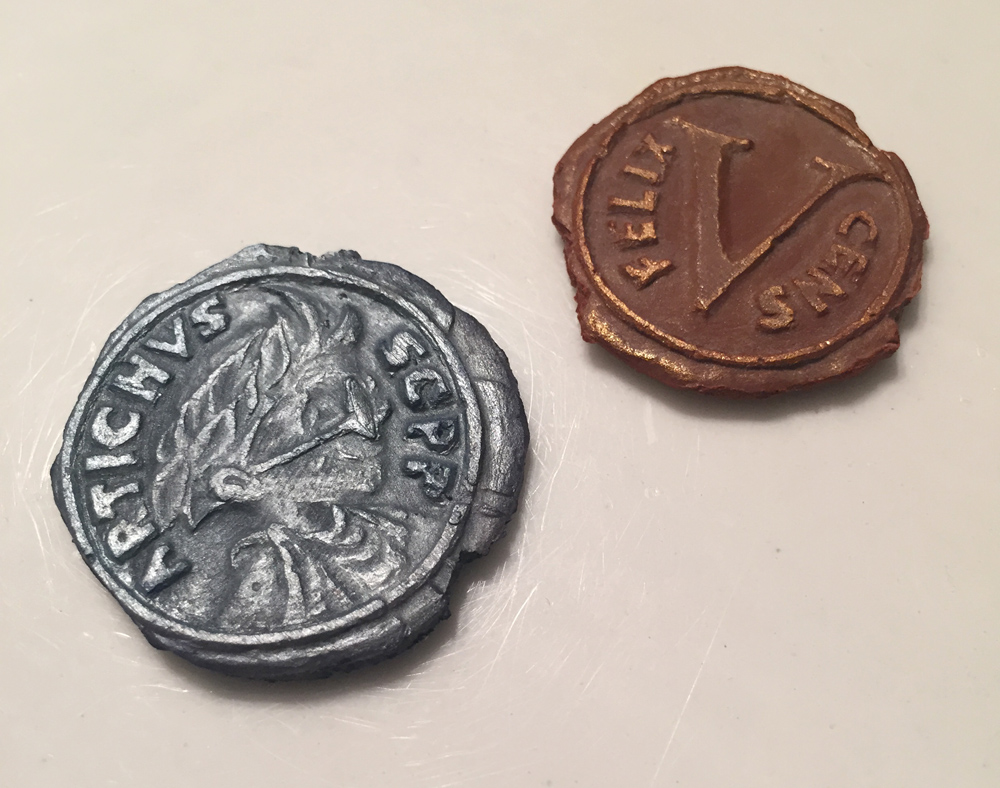 That reminds me of another project I did for this room. On the market side of the room were several activities designed to teach about the use of an abacus and Roman numerals. We wanted the children to have an engaging experience, so we had bags of “Roman” coins with which visitors would “go shopping” for items in the market. After looking at options, I decided to make our own coins. I carved a plaster master for each of the denominations (i, v, x). At first I planned to cast them in metal, but we decided metal would make them more tempting to steal. I cast them in plastic, using metal powders in the mold to create a patina and give a metallic impression. The obverse shows the profile of Artichus, the cartoon mascot of the children’s program at the M&G. The reverses had large Roman numerals to make discerning their value as easy as possible.
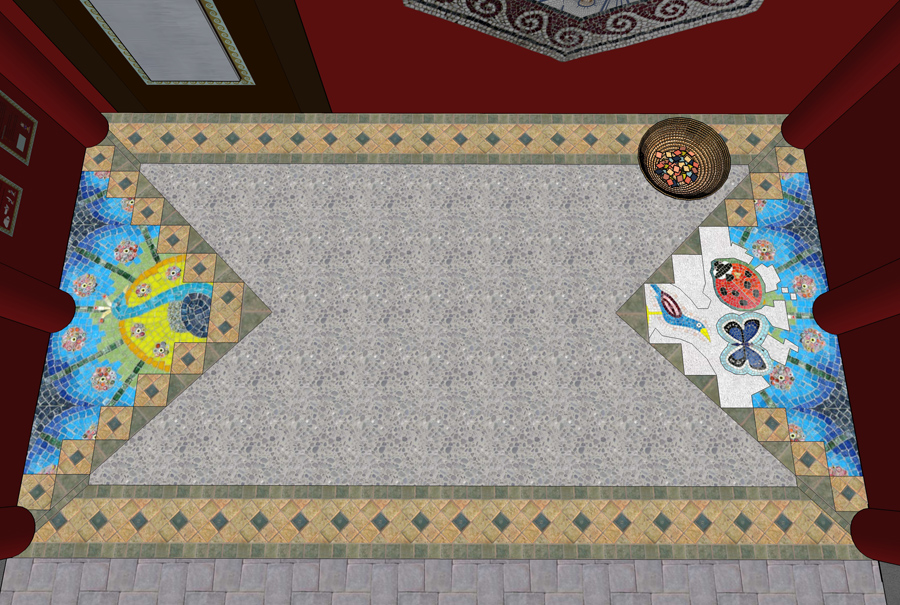
I really was pleased with one of the indoor-section activities: a DIY mosaic on the floor. On the left end is a finished mosaic of a peacock (peacocks were not only well known in ancient Rome, but were a favorite food of the patrician class). On the right end we embedded a steel sheet in the floor, and provided a basket of magnetic mosaic tiles. We started the mosaic along the top edge, so it looks like they are coming onto an almost-finished floor and they get to finish it. A pattern is ghosted onto the metal to give them an idea of what they can do, or they can wing it and do whatever they like. Unfortunately I don’t have a photo of that section, though the peacock portion is visible in the top photo. The Sketchup model is shown below. As of this writing the exhibit is still installed at the BJU Museum & Gallery in Greenville, SC; go see it for yourself!